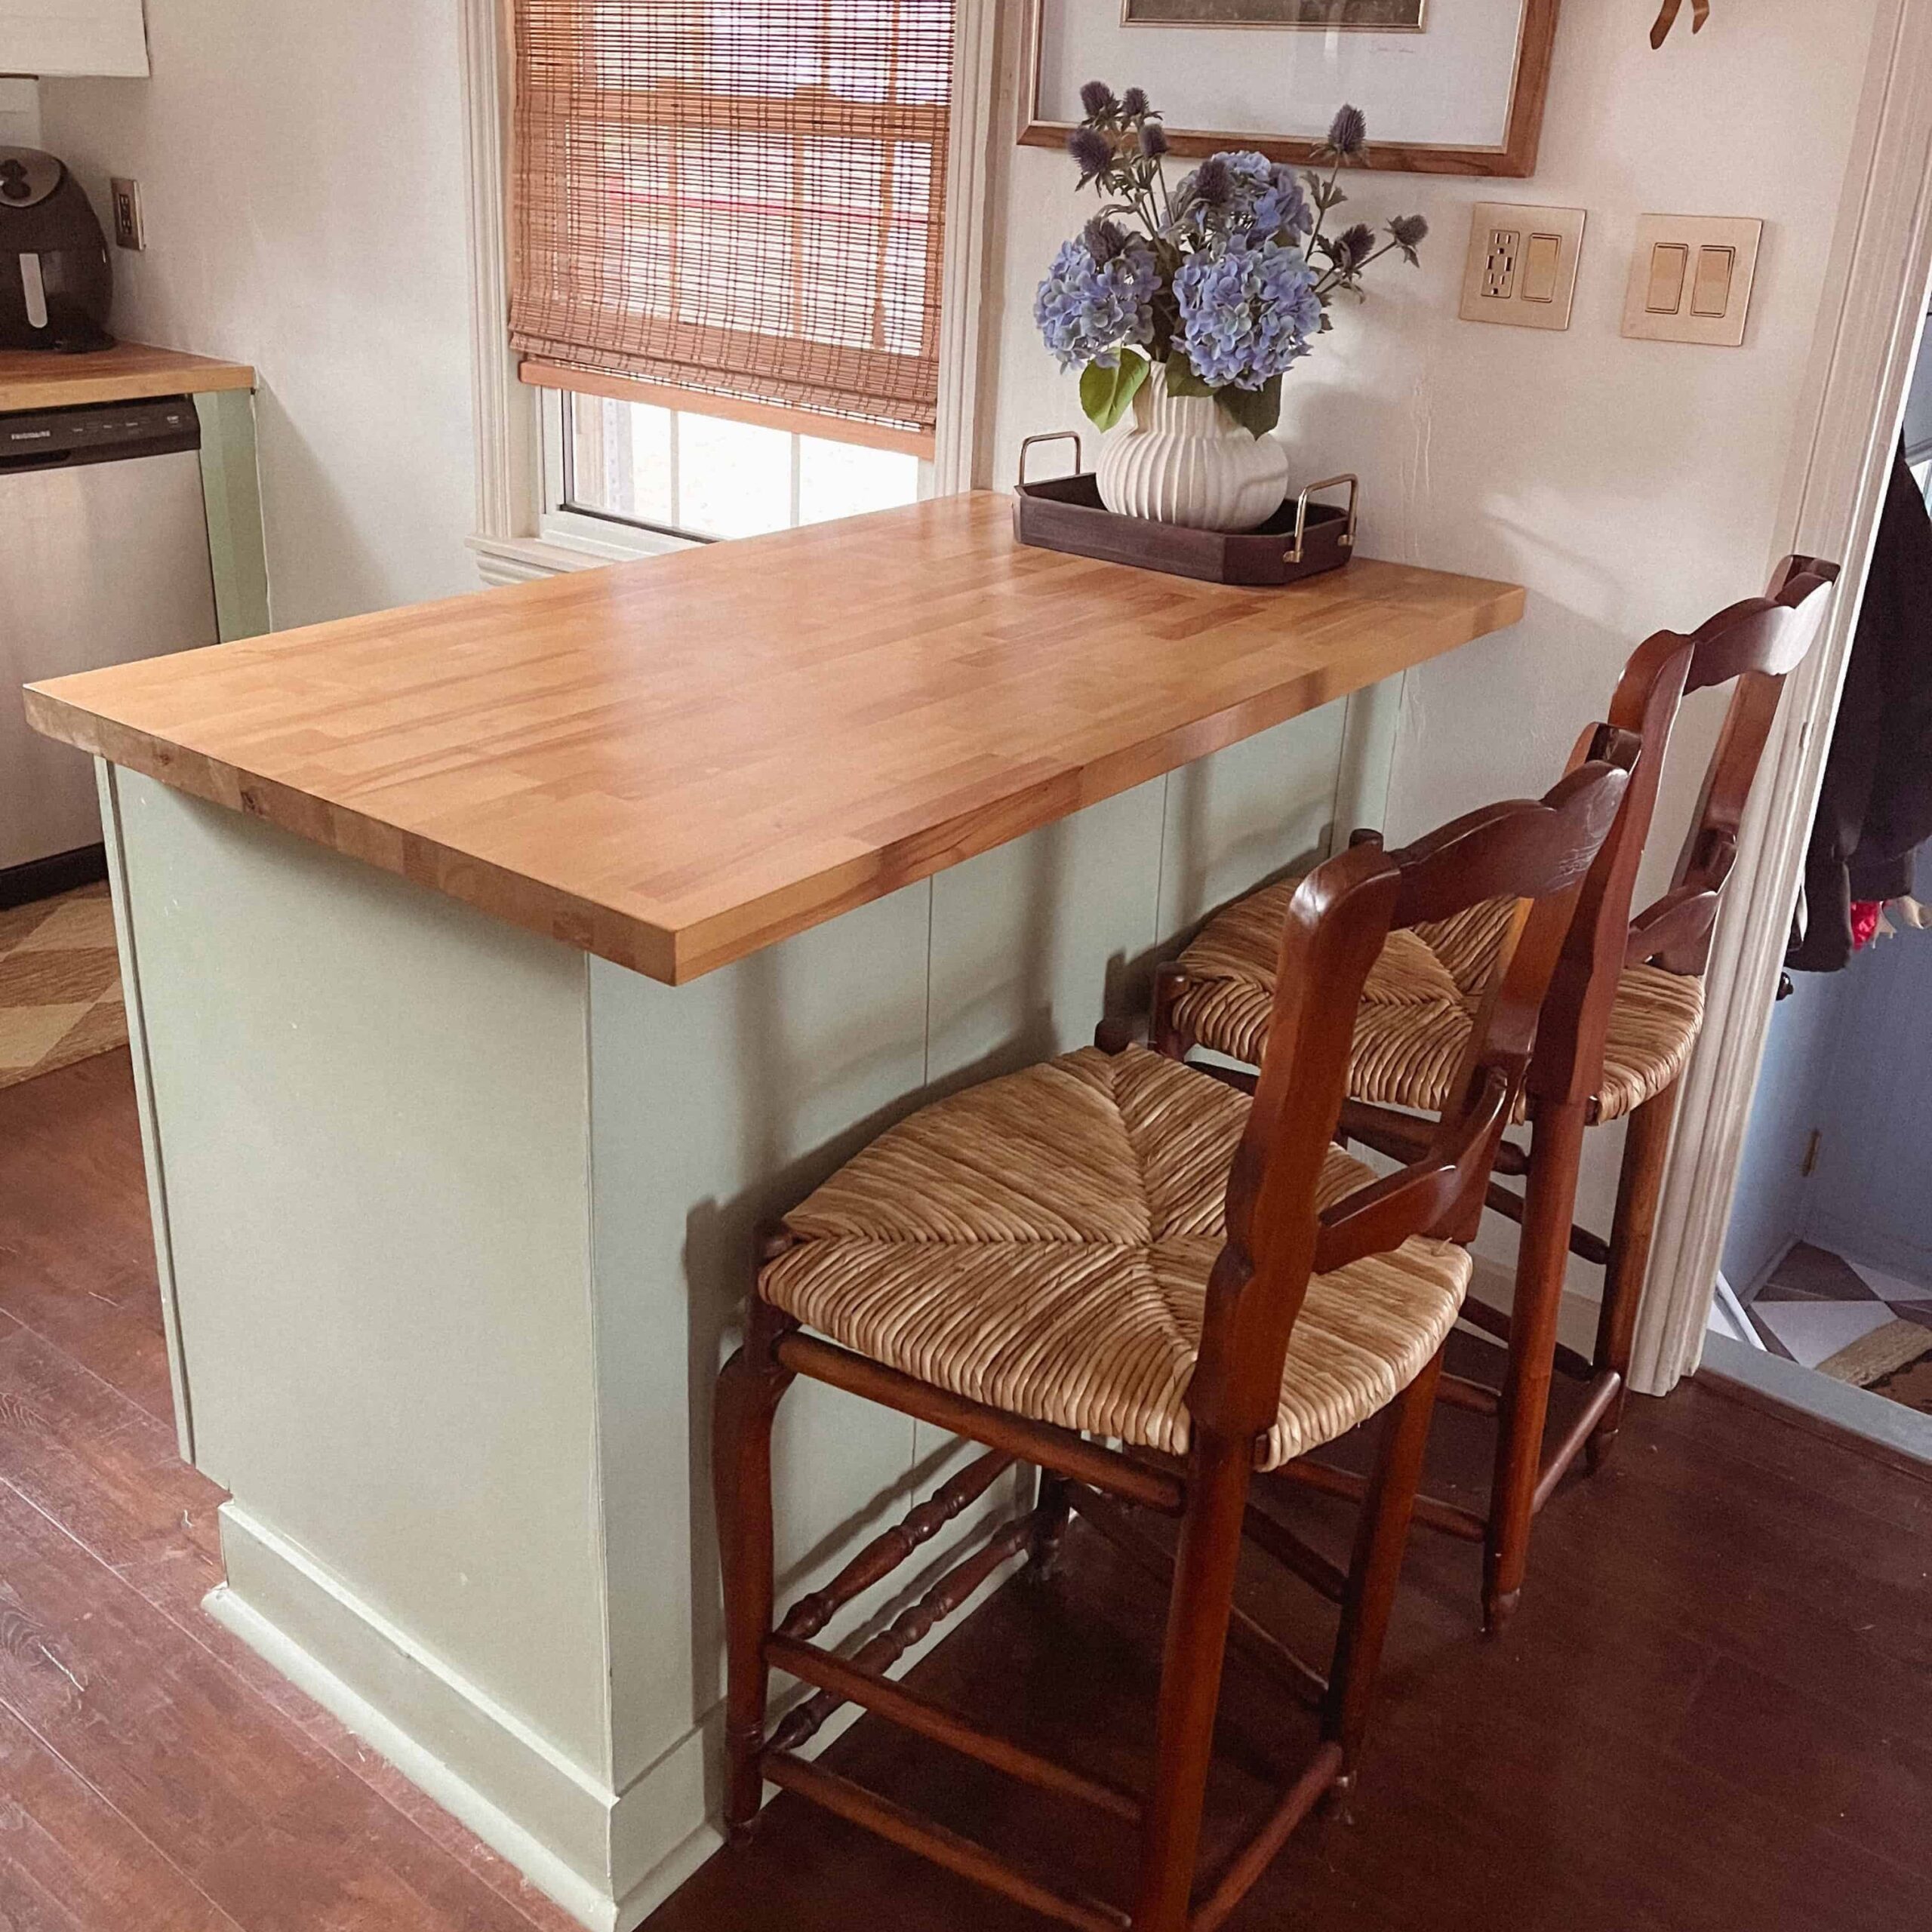
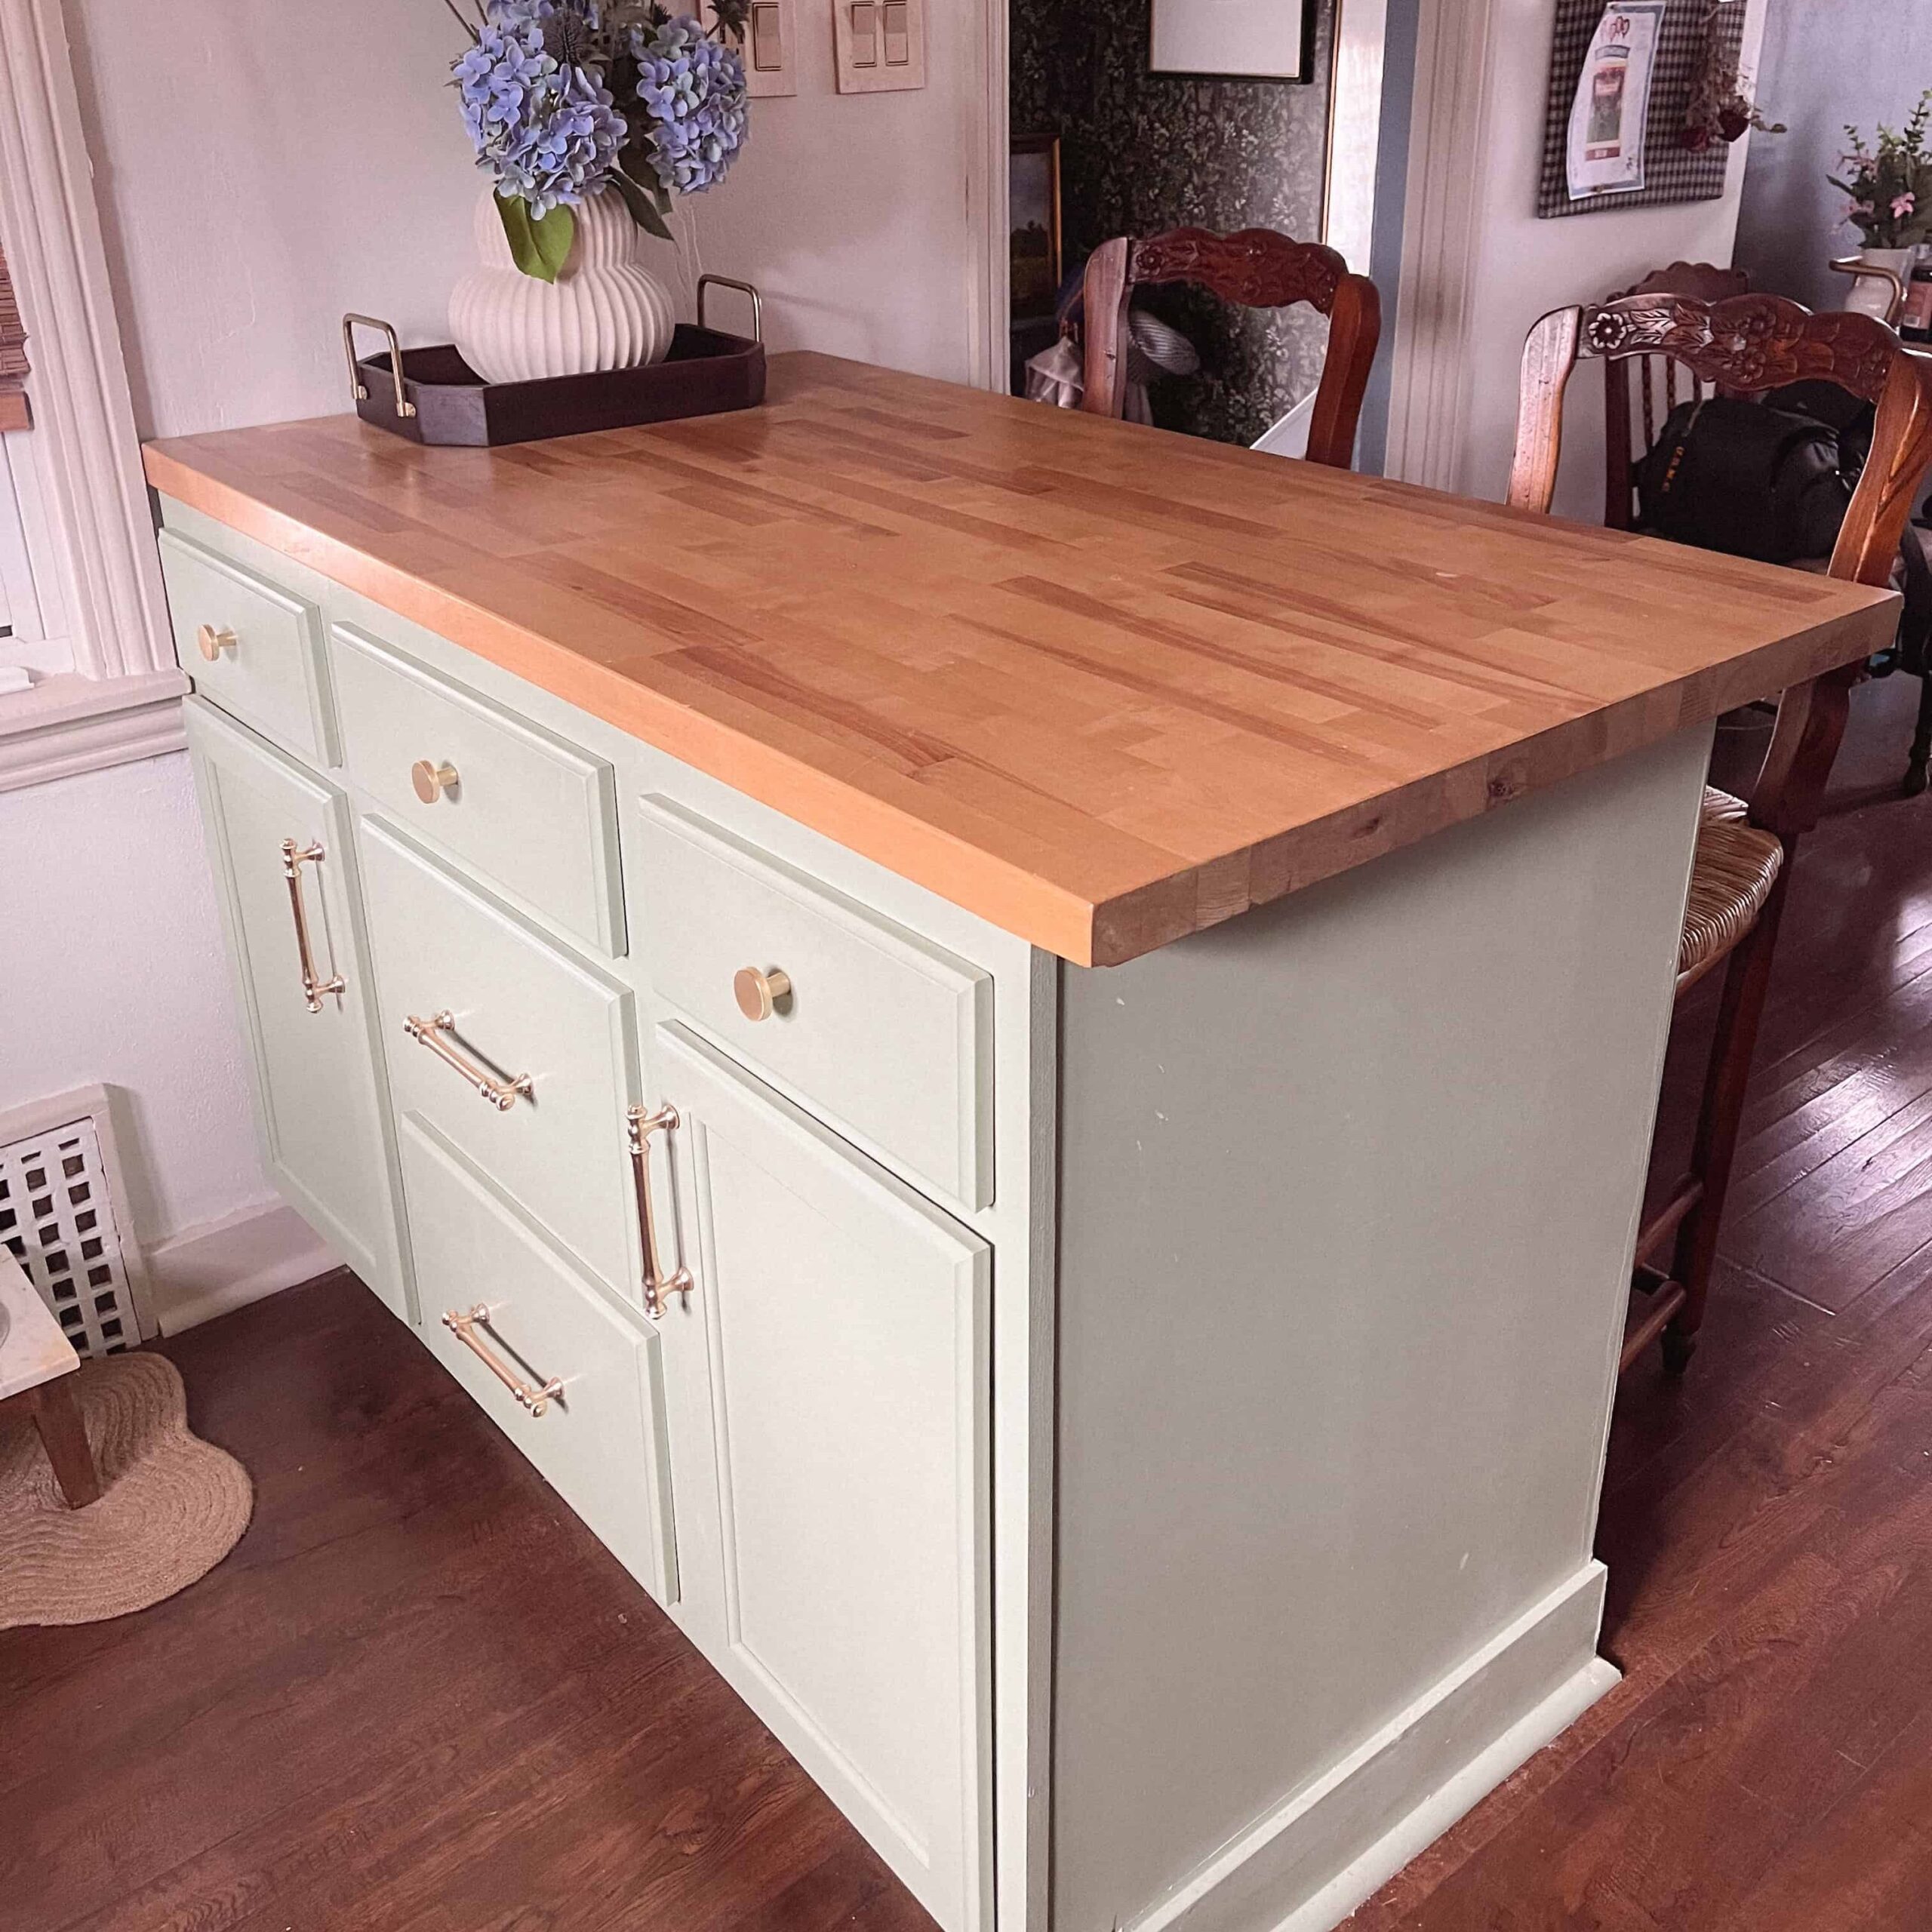
Looking to add a little more storage to your kitchen space? Or maybe interested in a couple extra spots for seating? Adding a kitchen peninsula will help you do just that! Let me walk you through how I built my kitchen peninsula, step-by-step.
This site contains affiliate links, view disclaimer for more information
List of Materials:
- (2) Base Units 15″ – $97 each (I got two)
- Drawer Base 24″ – $184
- Primer Paint – $15
- Paint (I used Clary Sage by Sherwin-Williams) – $63
- Butcher Block – $209
- Pre-stain conditioner – $7.98
- Stain – $7.98 x 2 (I mixed two different stains)
- Polycrylic or Polyurethane – $15 (I got polycrylic)
- Hardware – $37 for 10
- Knobs – $23 for 12
- (2) MDF Panel Board – $13
- (2) Caulk – $4.28
- Cabinet Screws – $15
- (2) Quarter Round – $4
- (2) Baseboard – $8 (Linked similar option)
- Pack of Shims – $1
Total Cost Breakdown ≈ $740
Keep in mind, you may already own many items such as stain materials, paint, hardware, caulk, screws, etc., which will bring your cost down a lot!
Tools/Equipment Needed:
- Power drill
- Circular saw
- Miter saw or Miter Box
- Paint brush / roller
- Stain wipes or sock
- Clamps
- Possibly Oscillating Multi-Tool
Video at the end of post*
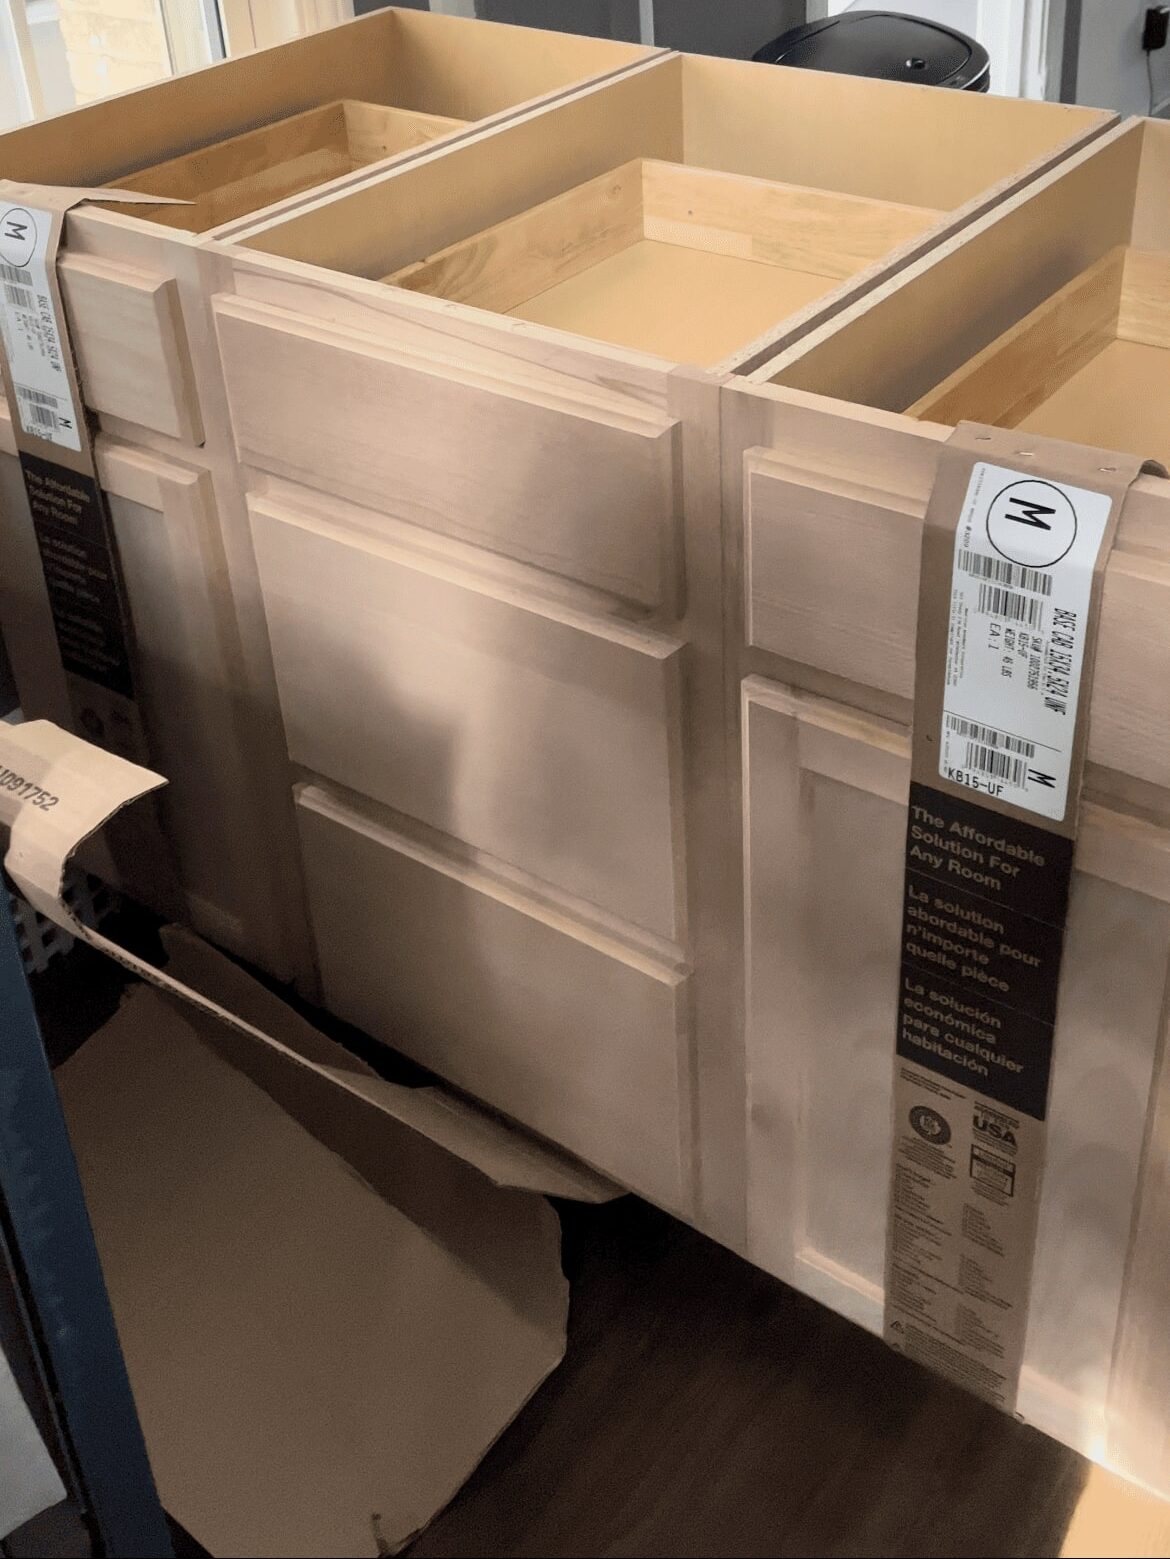
Here is our starting point:
Step One: Measure your space
The first step is measuring your space and seeing what size peninsula or island would work best for your kitchen. I would recommend laying down tape so you can get a true sense of the size. Personally, I decided to go with the 24″ drawer base unit and then two of the 15″ cabinet bases. Once I decided exactly what I wanted in terms of size and spacing, I got to work with getting the rest of the materials!
Step two: connecting the peninsula/island pieces
For step two, the first thing I did was remove all drawer bases and cabinet doors to get these out of the way, as they are not needed until later. Next, I laid down some plastic sheet to prepare for painting the bases, and put the base pieces on top of it – I highly recommend doing this before screwing all the base pieces together!
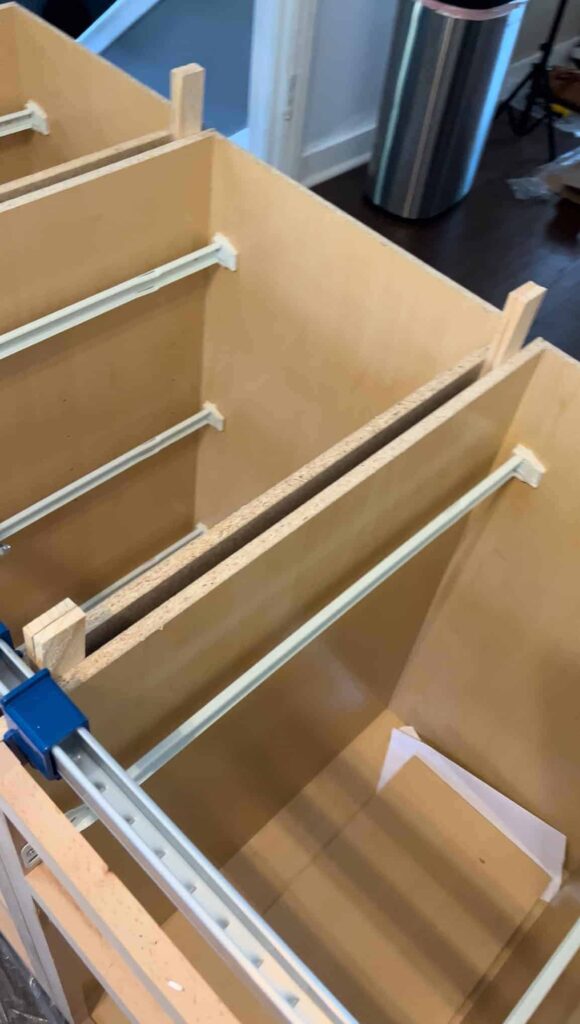
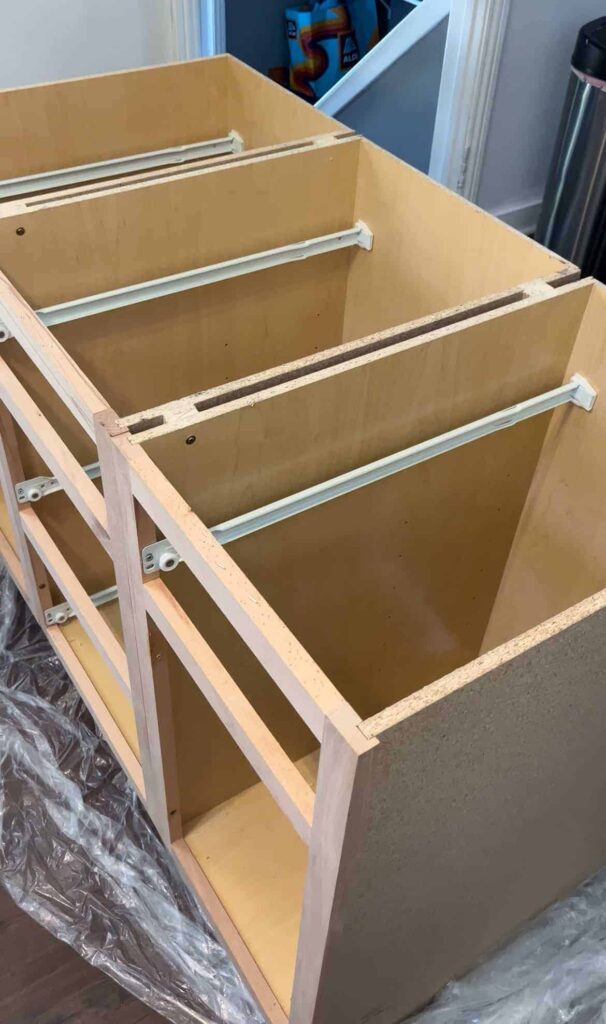
I bought more than one base piece for my peninsula, so I pushed them all together, from the front, they look all connected. From the top point of view, nothing is touching except for the front face pieces. To connect all of these base units, I added shim pieces towards the very front gap, and again towards the very back gap, adding shims until the gap is filled. For me, I added two shims in the front and two shims towards the back, then used clamps to hold it all together (see reference pic below). After the shims were in place and everything was clamped in, I grabbed my power drill and drilled a pilot hole starting from inside one base unit, and going through the shim(s) and just through the other base unit (I did this partially through the other cabinet, but not all the way through). I alternated which side of the base unit I went through for the front and back shims, see video, as it’s easier to watch than explain – haha, sorry!

Step 3: Adding MDF and Baseboard
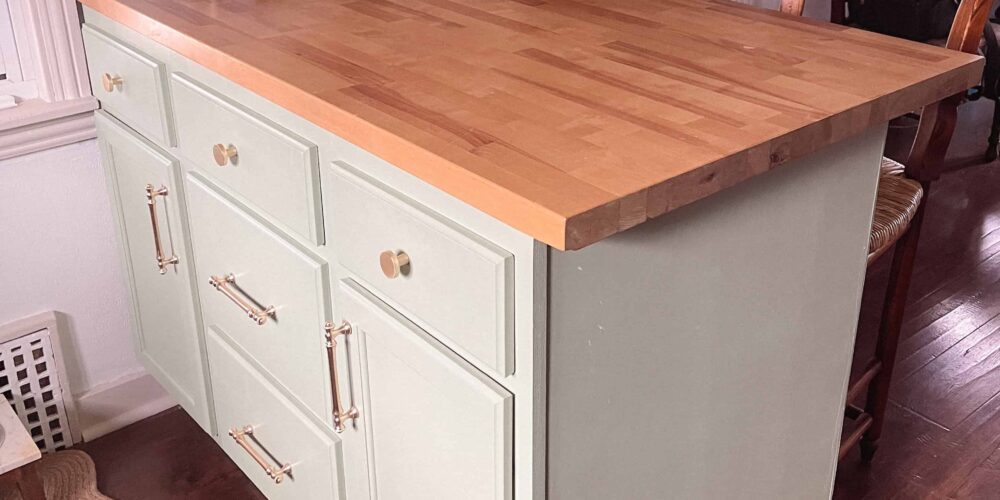
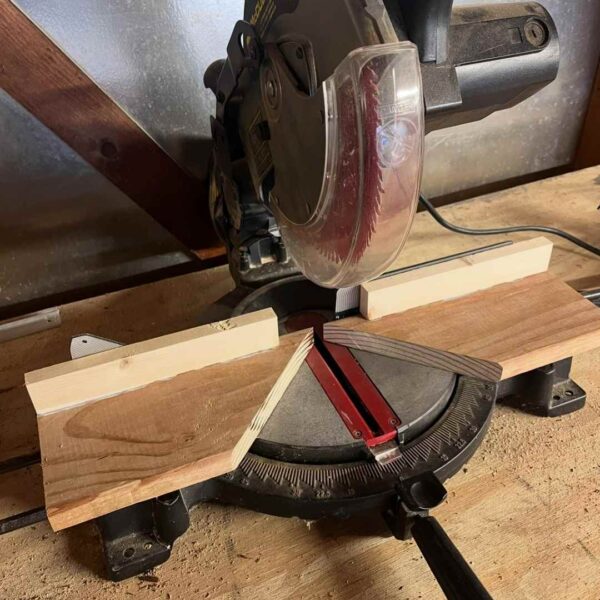
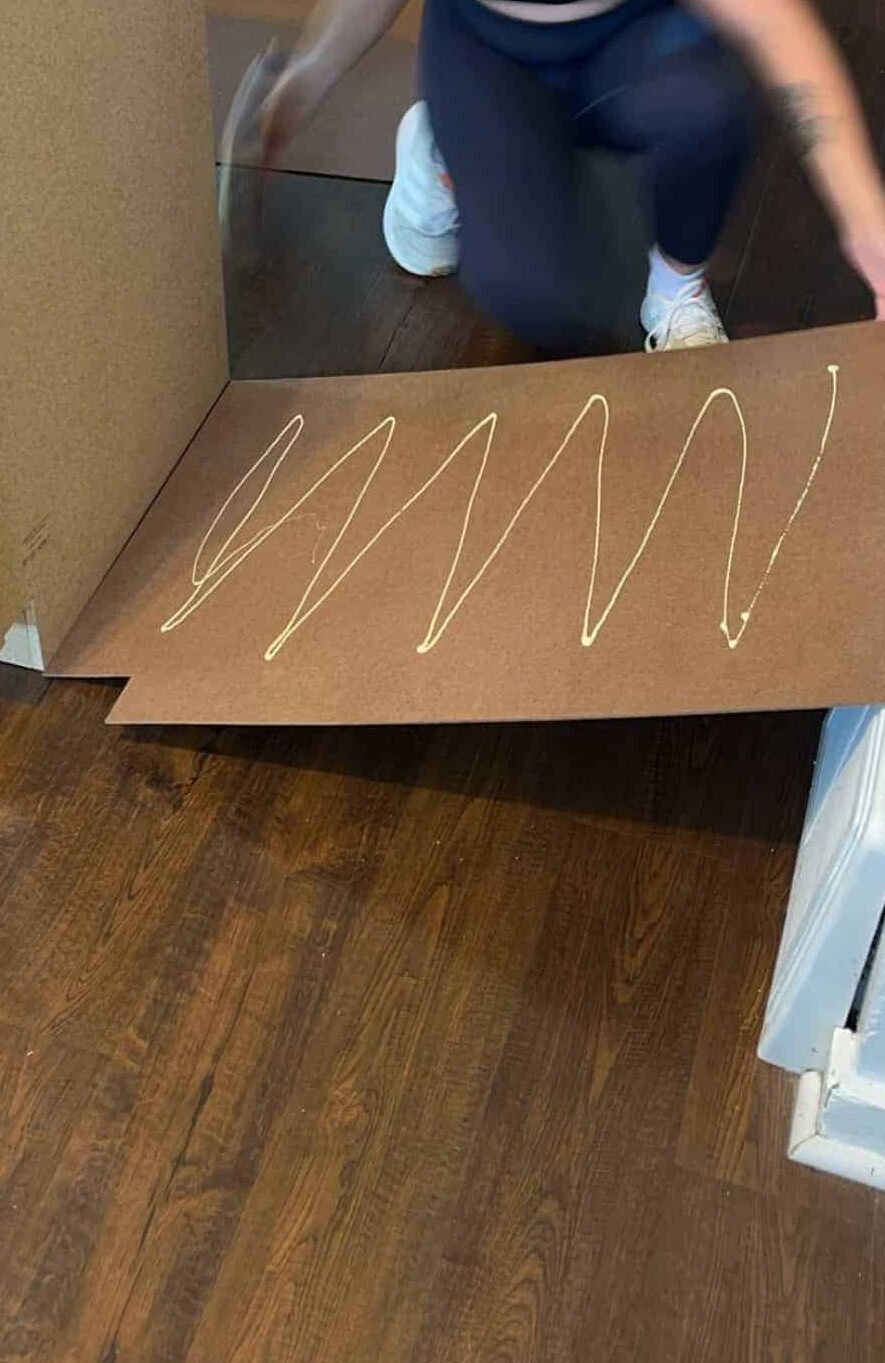
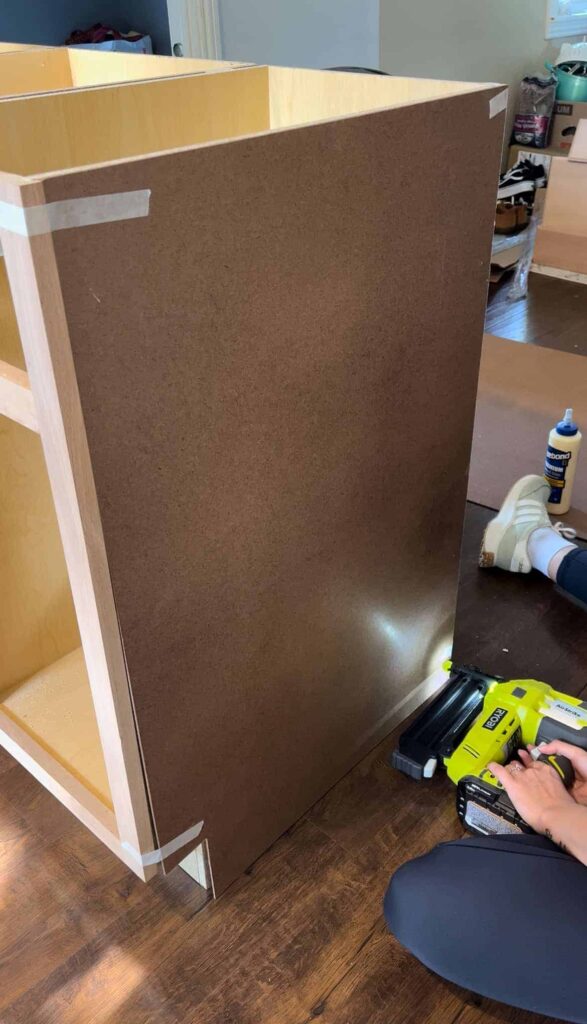
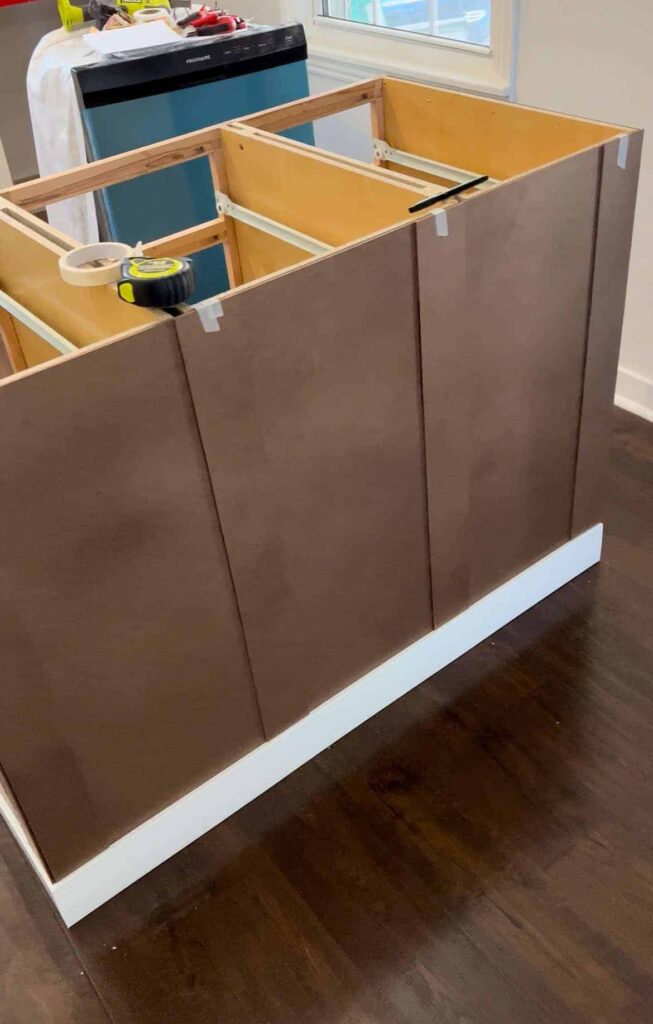
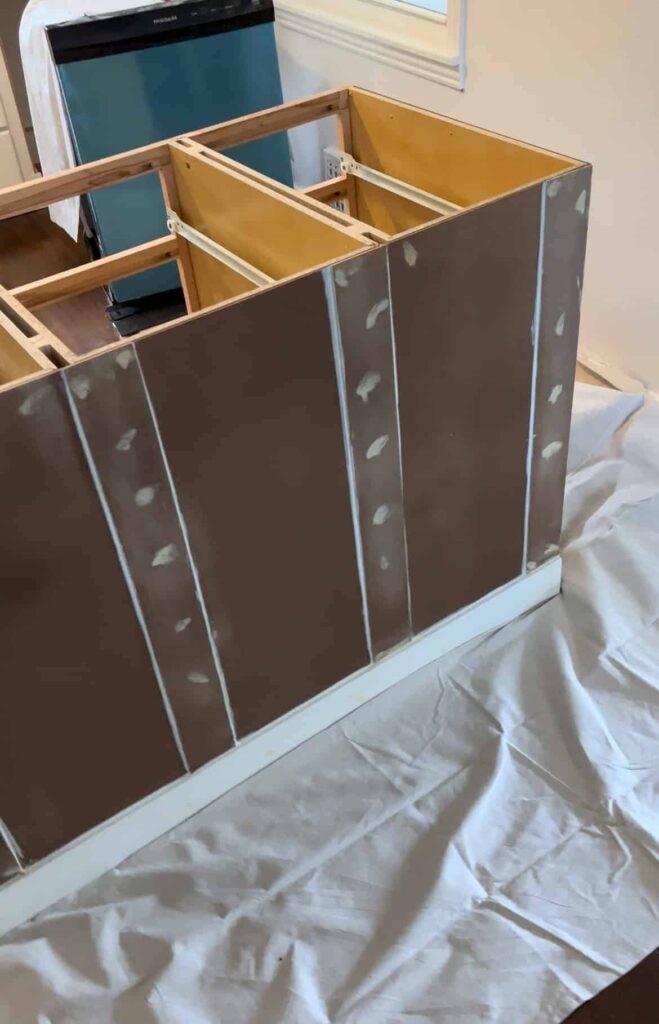
I wanted to add a smooth all-around look to my peninsula so I added MDF board around it. I cut two pieces for the exposed side, and the back side using my circular saw. Additionally, I cut out about 3.25″ strips to give it a board and batten look. Another good alternative is adding beadboard! After I cut the MDF boards, I added wood glue to the boards then pushed them onto the side/back, and used my brad nailer to nail them into place (use small nails). After the MDF board was on (didn’t add board and batten strips until later). Once the main MDF boards were on, it was time to cut the baseboards to size with my miter saw (can use a miter box instead, if needed). The hardest part of adding the baseboard is getting the angles correct, with a 90degree corner, I cut each baseboard to a 45degree angle. Once all the baseboards were cut to size, I used my brad nailer again to attach these to the base units. I did one nail every 4-6inches apart. After the baseboard was on, I measured out which wall I was pushing it up against for the peninsula (including the extra length with the baseboards on).
I added the board and batten strips by taping on the pieces to make sure it all aligned well – I had to scribe the one against the wall (but did this at the end once it was in position). I just did four on the back side. Once I had them placed where I would like them, I used wood glue on them and then used the brad nailer to secure them on the top corners, middle, and bottom corners (again, using small nails so its not coming through the back of the cabinet completely).
Step 4: Caulking and Painting the cabinets!
After everything was nailed into place, I grabbed my caulk (paintable caulk) and cut the top at a nice 45 degree angle. Start caulking all the seams and wood-fill all the nail holes to give it a really seamless finish. It’s helpful to have a little dish of water and some towels during the caulking process – to make it really nice and easy, I dipped my finger in water before running my finger over the caulk to give it a very smooth look.
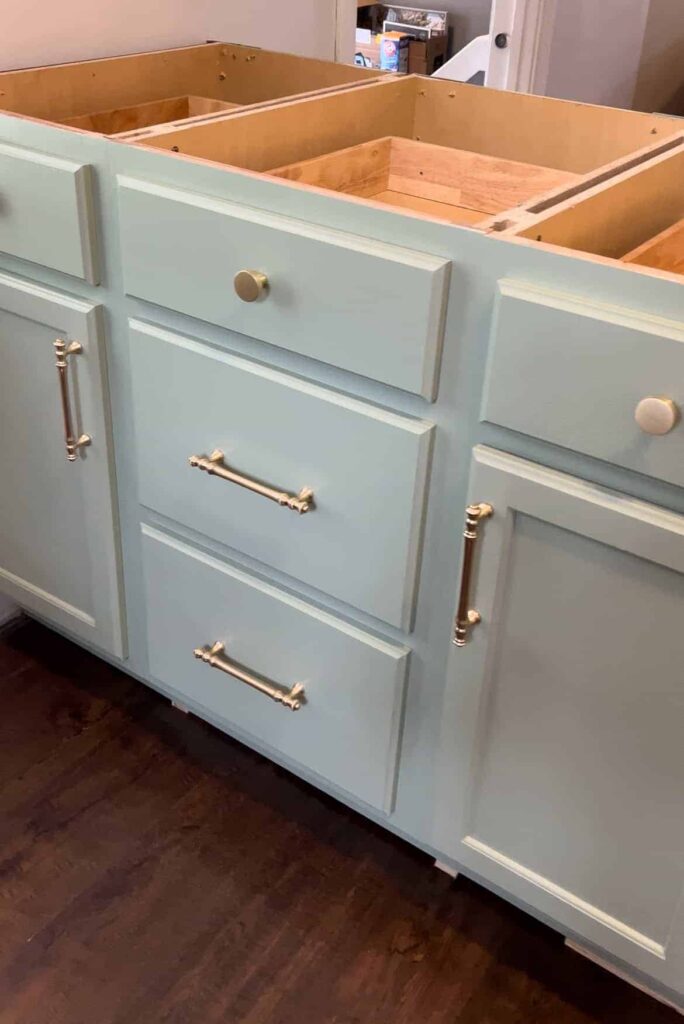
This next step is the fun part- painting! I started by using primer, I used a couple of coats of this, then to paint the base units, I just used a 4 inch roller using a roller that is made for smooth surfaces, as well as a paint brush for the cabinet drawer faces and cabinet doors. For my paint color, I used Clary Sage by Sherwin Williams, a beautiful light-colored sage green! I decided to paint first before pushing it against the wall because it was easier to move around and paint without needing to be careful of the wall.
I then used my oscillating multi-tool to cut out the existing baseboard trim on my walls (where the unit will slide into). If you are making an island, no need to worry about this part! Also, if you don’t have baseboards on your walls, then again you don’t need to worry about this step!

Step 5: Anchoring
After my peninsula was in place, I added in an anchor. Unfortunately, I didn’t get any pictures of the anchoring process – but it’s basically placing a short piece of 2×4 into a couple of the inside corners (on the floor), screwing the 2x4s into the floor and then screwing the outside of the base unit into where the 2×4 is located. This YouTube video is amazing to show how to level and anchor your island / peninsula (https://youtu.be/bOefX3oRsLk?si=PYFLjT0-NmOM76A2).
Phew – the hardest part is done!! For any small steps you are unsure about, Google and YouTube are very helpful, they helped me a ton!
STEP 6: iF desired – ADDING QUARTER ROUND
I added quarter round because I had a little gap at the bottom from leveling it out, additionally it just gives a very nice finishing touch! It is also a great idea to paint the quarter round before installing so you don’t have to worry about getting paint on your floors! Here is a great video that goes into how to get the right cuts and angles for quarter round: https://youtu.be/v3vHpVlSj8g?si=7AV_wNKnOcH5NVBT
Step 7: Adding the countertop
I added butcher block to my peninsula because it is affordable, easy to cut to length, and finish / stain. I will be making a blog post shortly that goes into detail about how I finished my butcher block – but in the meantime you can view my video on it via TikTok, here 😊. To secure the butcher block, I used a constructive adhesive on the underside and then used clamps to hold it into place. This is all I did to secure it, and all I needed to do – it hasn’t budged since (it’s been a couple years now!). However, another method is to use pan head screws with brackets, which is also a great option!
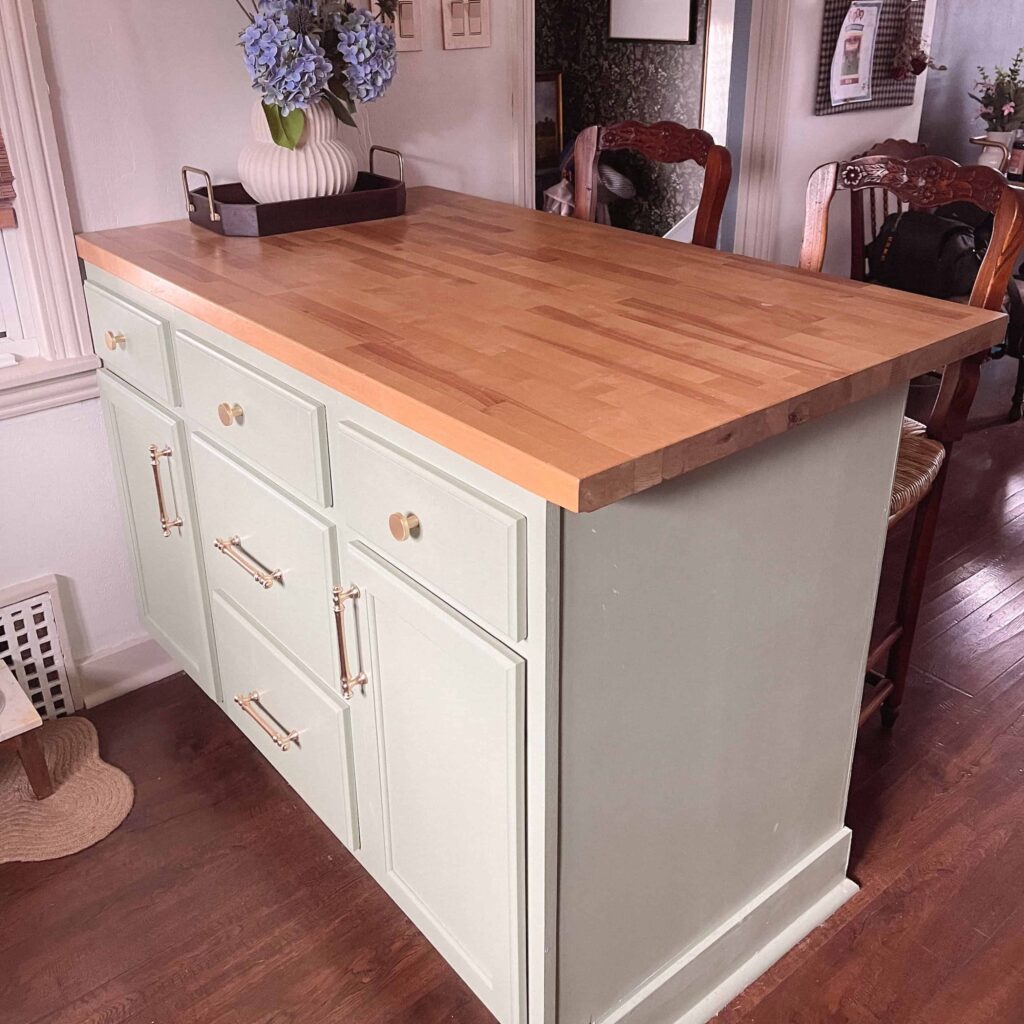
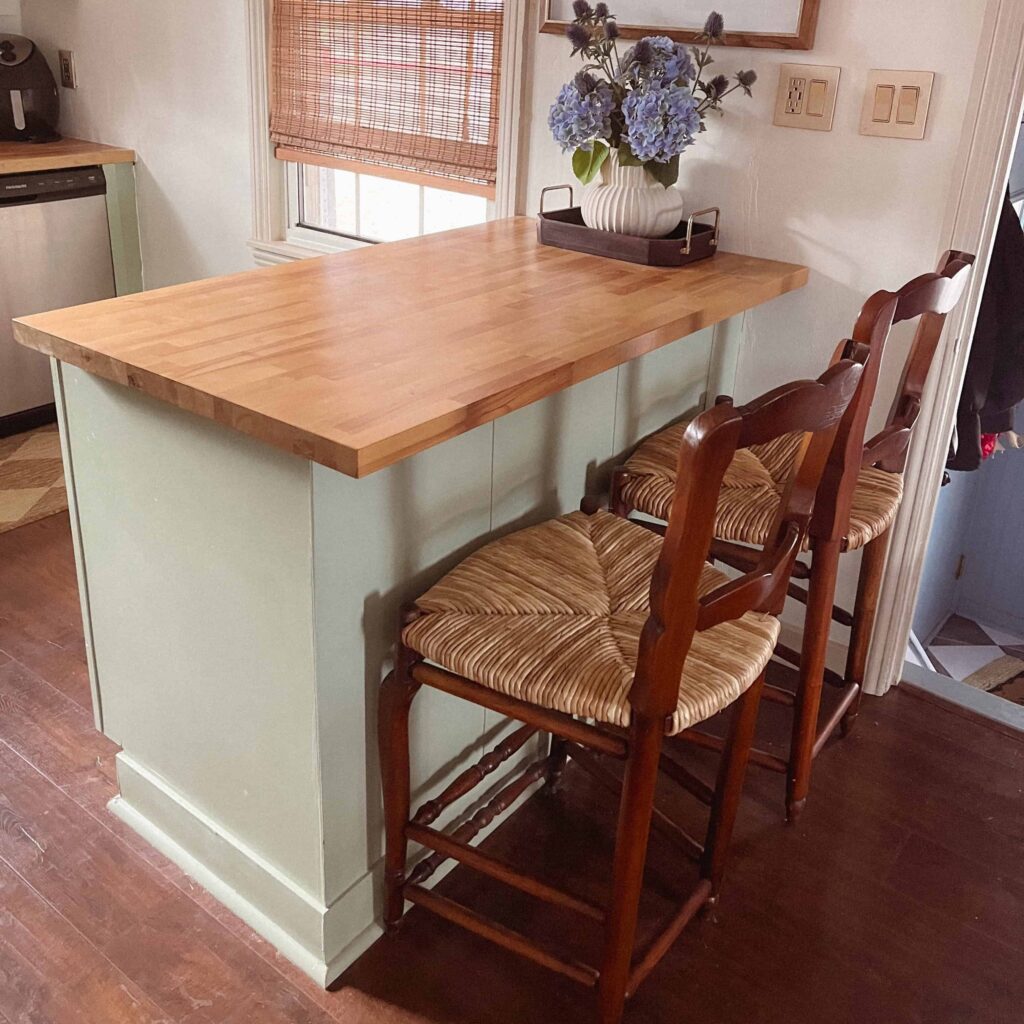
P.S. I wish I had taken more videos and pictures of this process – but this is actually one of the first house projects I did, so I didn’t document it as much as I wish I would have! Either way, I hope this post can be somewhat helpful. 😊

