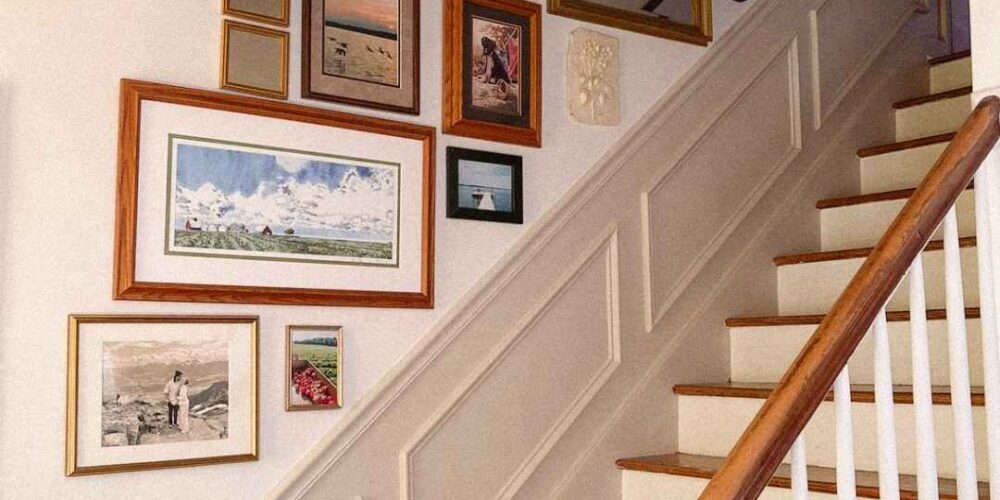
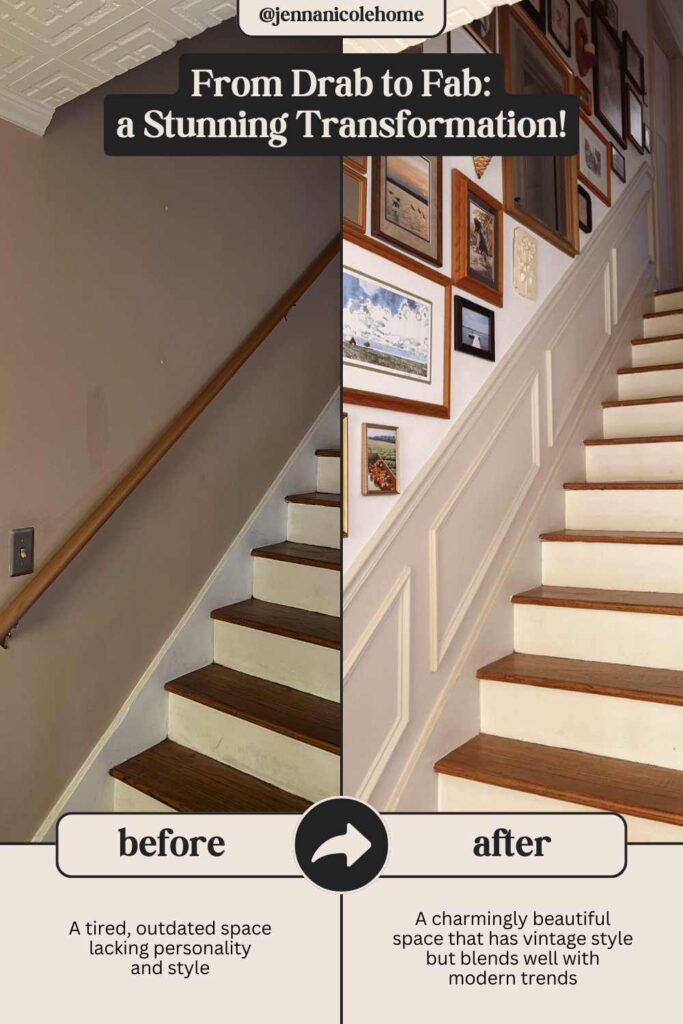
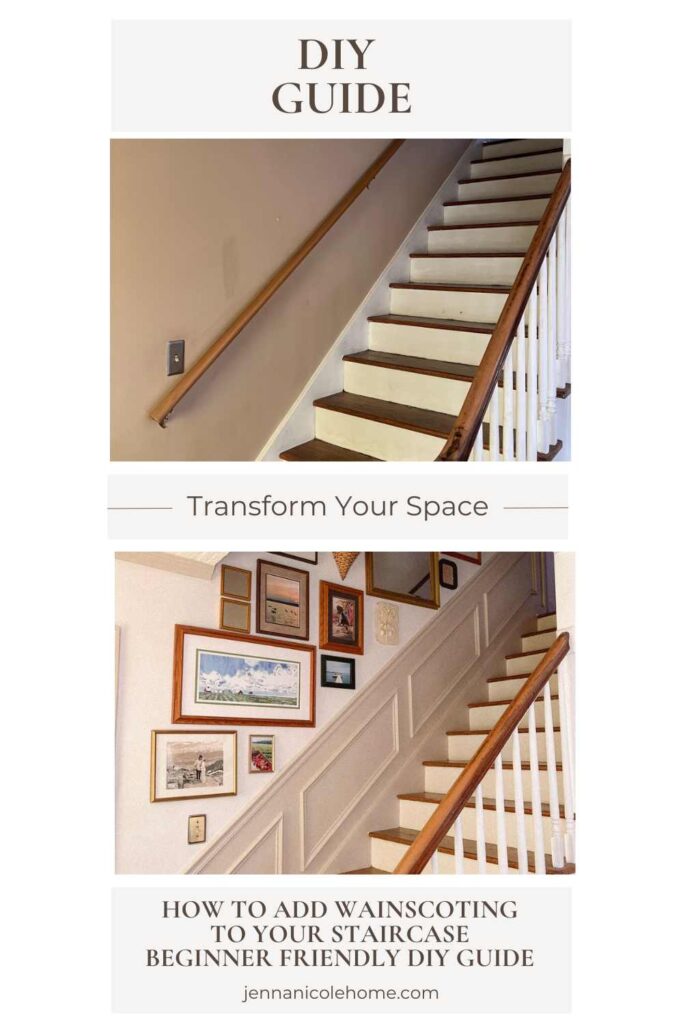
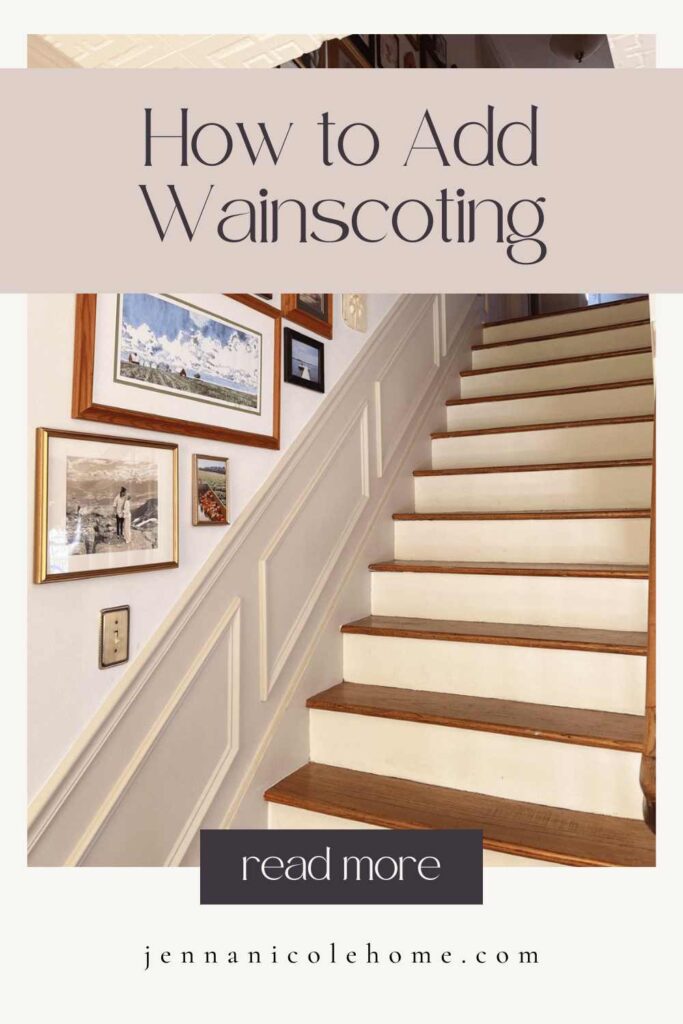
I’ve been loving the charm of wainscoting lately—it adds such a beautiful, vintage touch that still works perfectly with modern styles. It instantly elevates any space and, best of all, it’s totally DIY-friendly (yes, you can do it yourself—woohoo!). Let me walk you through the exact steps I took for how to add wainscoting to your staircase and create a timeless look.
This site contains affiliate links, view disclaimer for more information
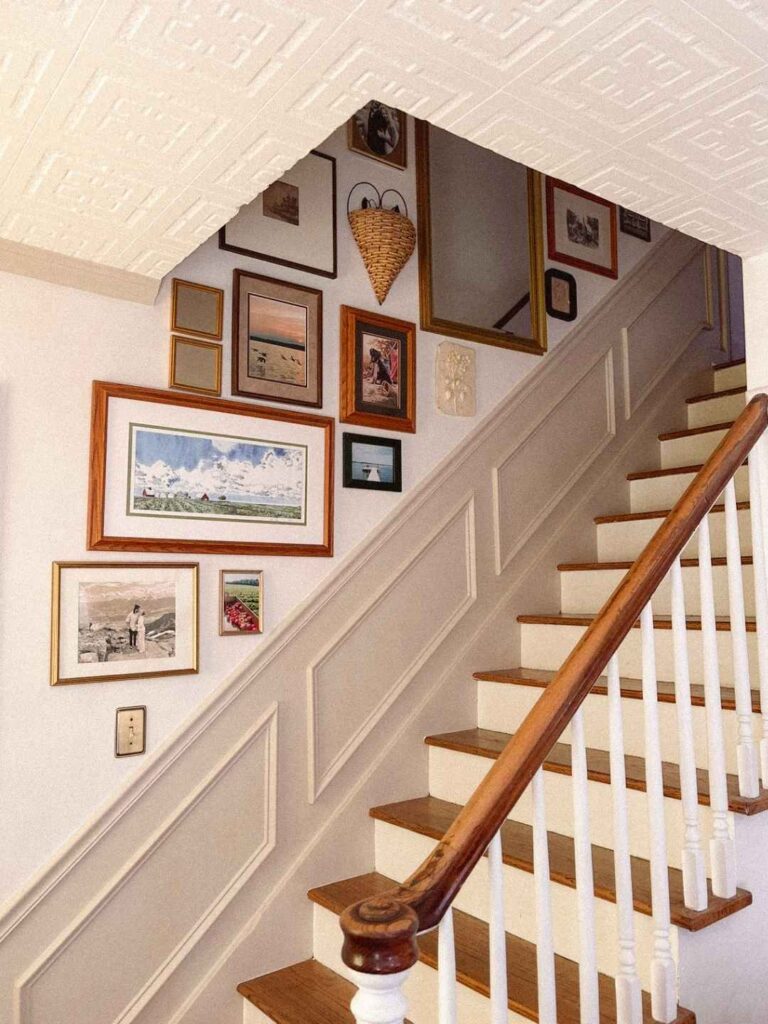
Below is a list of materials that I used for my wainscoting on the staircase – this will most likely be different for you in terms of what you need for amount of moulding.
List of Materials & Price Breakdown:
- Chair Rail – 14ft + 2ft, $2.64 /linear ft = $42.24
- Base cap moulding (what I used)$1.94 / linear ft = $69.84 or picture moulding
- Caulk = $2.95
- Protractor = $6.55 or digital angle finder
- Liquid nails = $2.78
- Wood filler = $9.98
Total Cost Breakdown: $134
Materials to make jig for steep angle cuts (blog post HERE):
Tools:
To make things as easy and convenient as possible, I will be creating video on the process that will be posted at the bottom of this page! For now, you can view the video over on my TikTok (linked at the top of my blog)
Step 1: Prepping and Measuring your stair wall
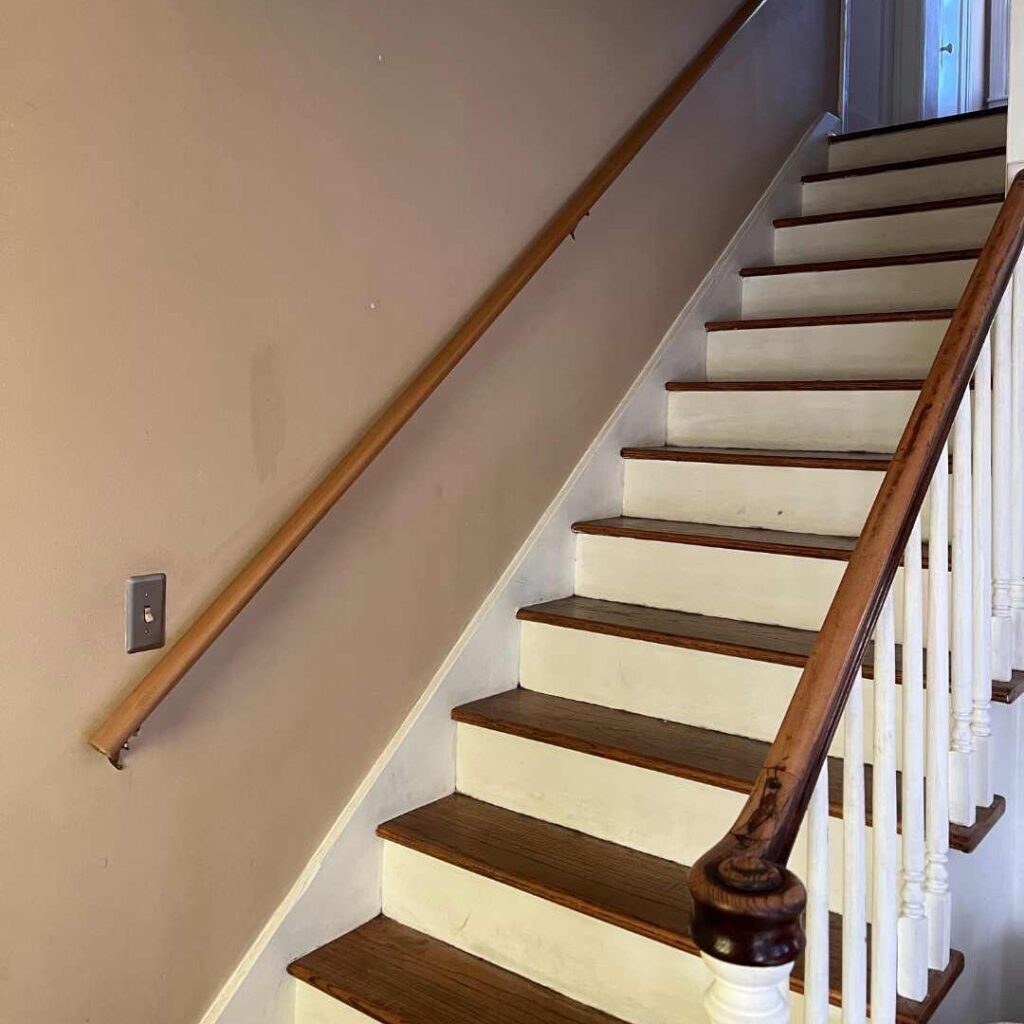
The very first thing I did was remove the handrail that was already there. Note: it’s building code to have a handrail on at least one side, so I trimmed it down and reinstalled it later on the upper right side of the staircase.
For measurements:
- I measured the diagonal length of the stairs (from top to bottom).
- Decided on four wainscoting panels.
- Chose 4 inches of space between each panel.
- Set the chair rail height at 32 inches from the floor.
If you’re wondering about chair rail height, a good rule of thumb is:
- 32–36″ for 8-ft walls
- 36″+ for 10-ft walls
I chose 32″ so it wouldn’t interfere with my light switch—less adjusting = less work, haha!
Helpful tools:
Step 2: marking measurements and angles
Once I had my plan, it was time to get to work with drawing the layout!
Here’s how I mapped it out:
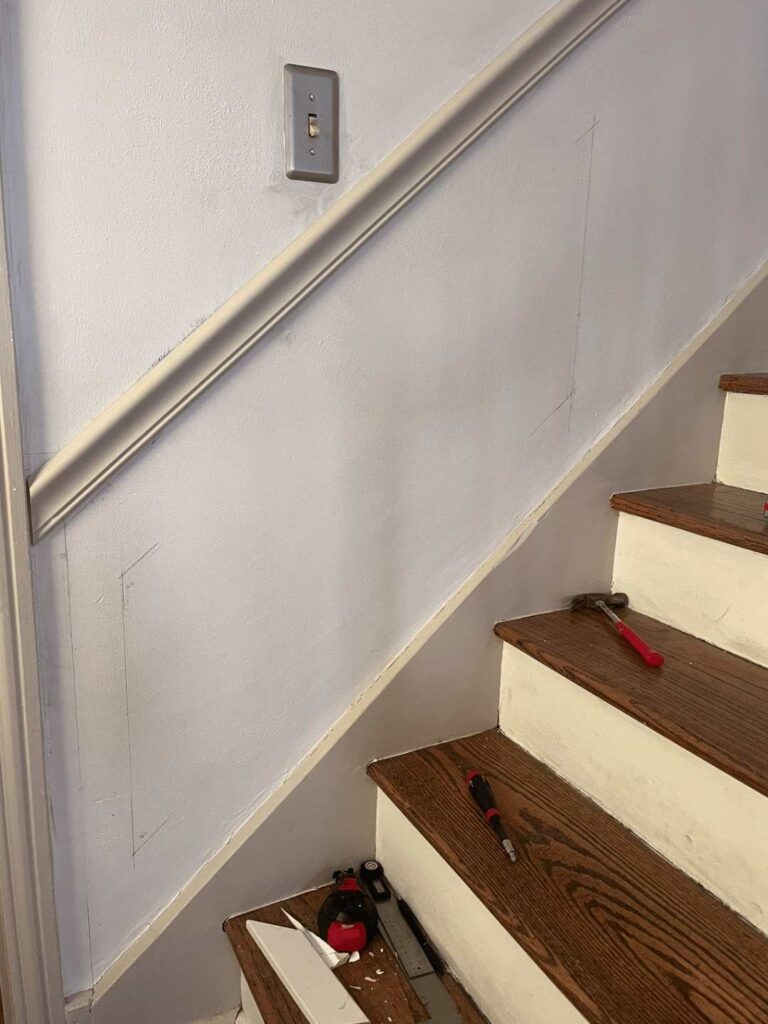
- Mark your top corner: My baseboard levels off at the top of the staircase, so I started there—about 6″ past the last step.
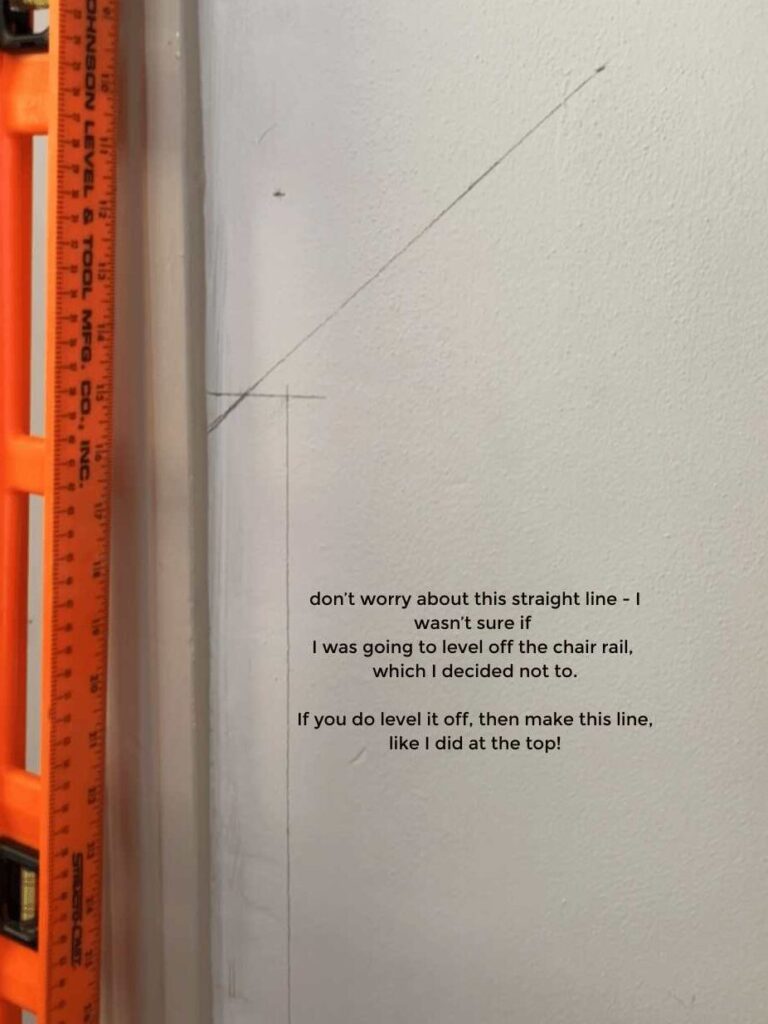
- Draw a vertical line with a level going up from that corner. Make sure it passes 32″ in height or your chosen height.
- Mark the horizontal chair rail height: From the door frame at the top, I measured 32″ up from the floor and drew a straight line across. This should intersect with the first line to make a “+”.
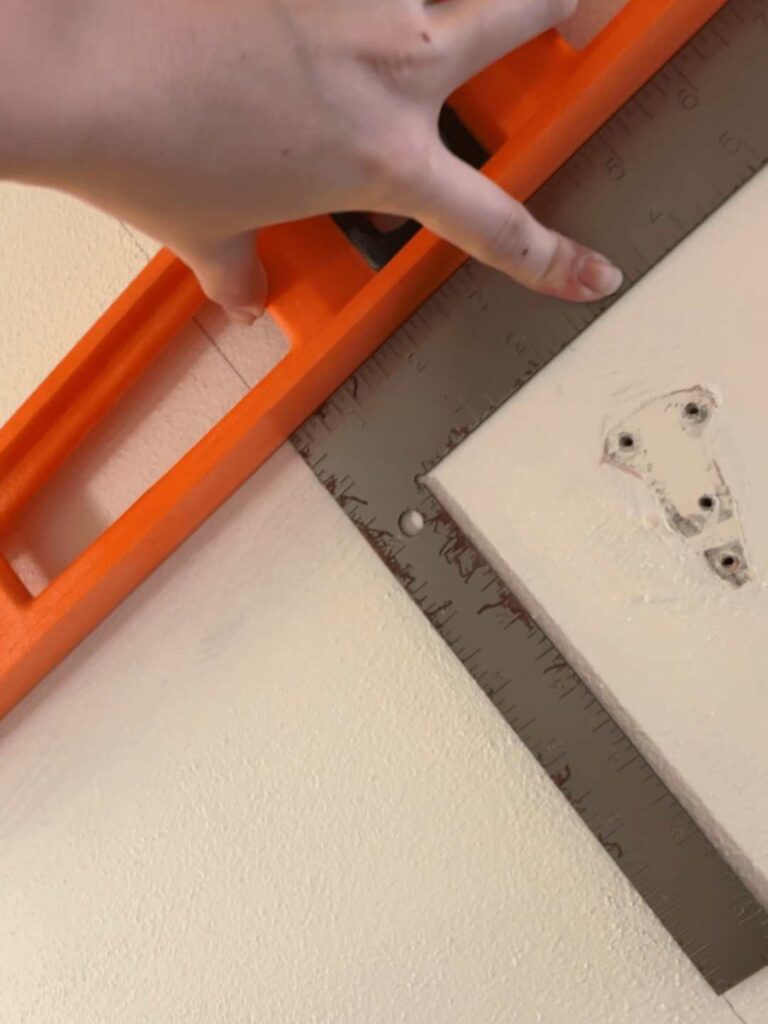
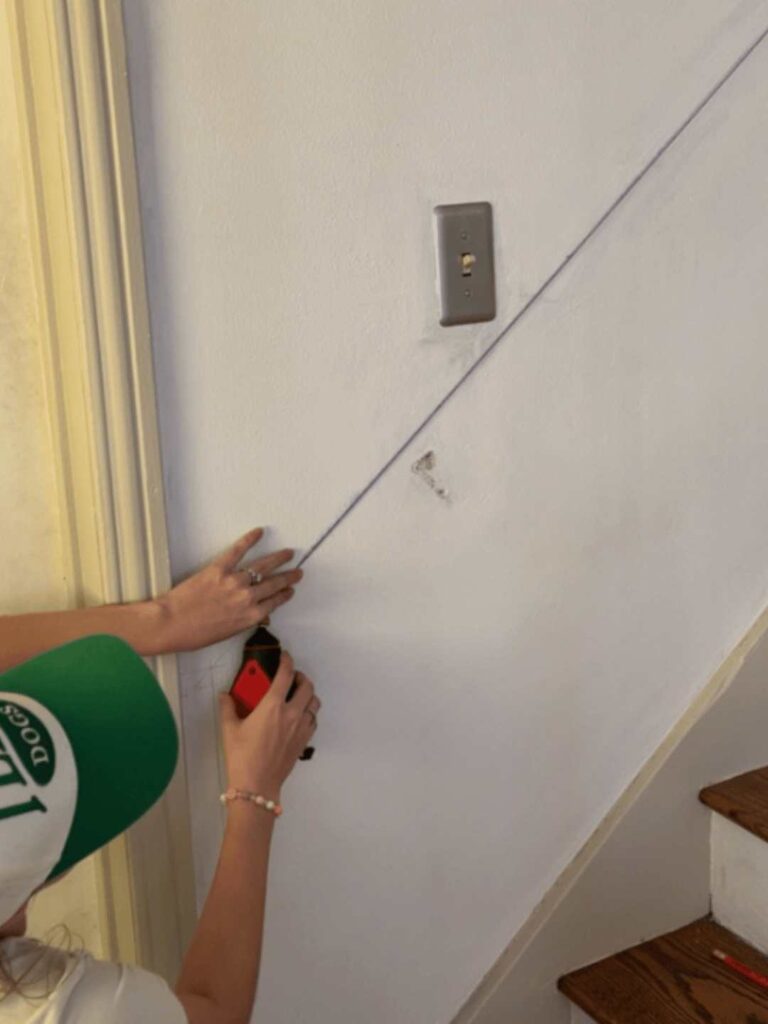
- Establish the diagonal: I used a framing square, placing it at the baseboard’s top corner (from step 1). One side lay flat along the stairs, the other pointing up. Then I used my level to extend this angle further down the wall, marking my line. I then used my level to connect the center point from step 3 and the line I just made. I measured the height from the baseboard to the diagonal line. Using that measurement I marked a few points at the bottom of the steps, and connected the dots with a level.
- Snap a chalk line: I then lined the chalk line up to the diagonal lines at the top and bottom and then snapped the chalk line to make for a perfect guide. Since I was alone, I hammered a small nail at the top to hook the chalk reel—worked like a charm!
Step 3: Installing the chair rail
The longest piece I needed was 14 feet—I cut it from a long piece I found at Home Depot, plus a 2-ft piece for the top.
💡 Tip: Use a scrap piece of wood to test your angle cuts before using the real chair rail—this saved me from ruining my trim!
To install:
- I used liquid nails and had my mom help hold it in place.
- While she held it up, I nailed it in with my nail gun (about six nails).
- Don’t forget to paint first if you’re going that route—it’s so much easier than painting later!
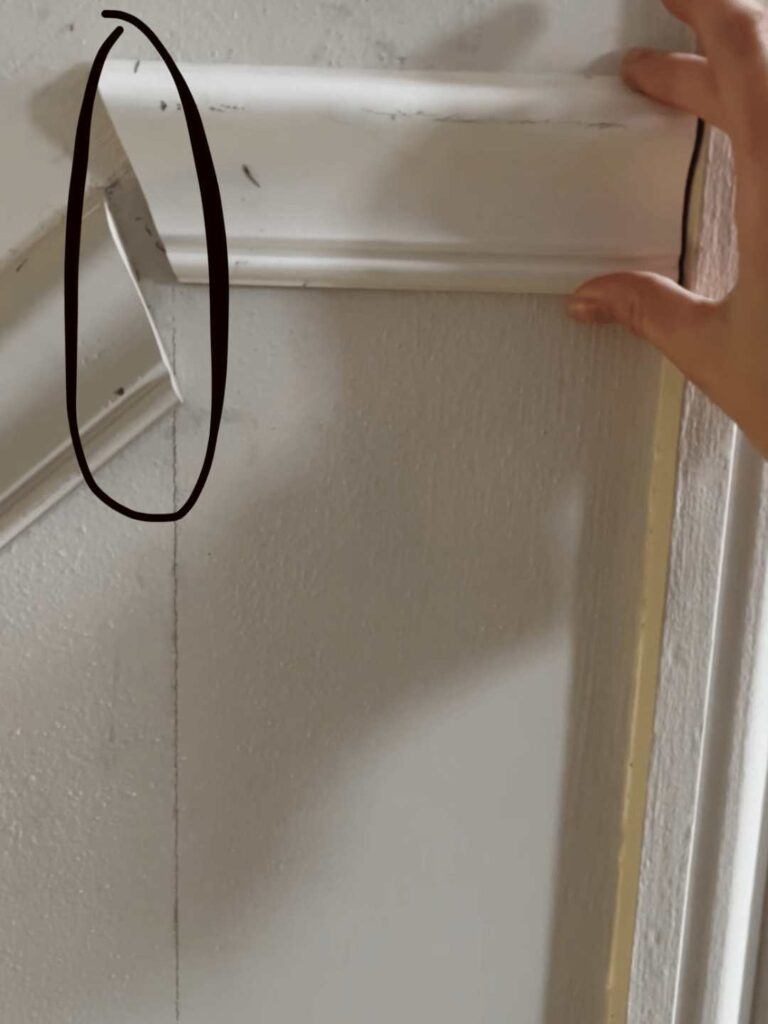
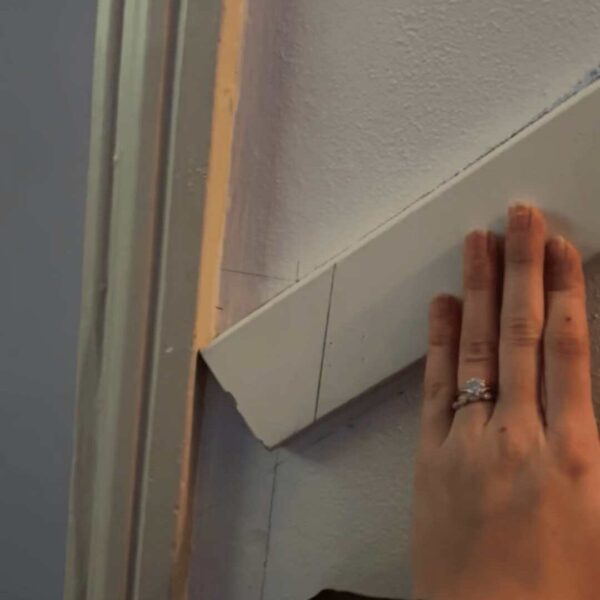
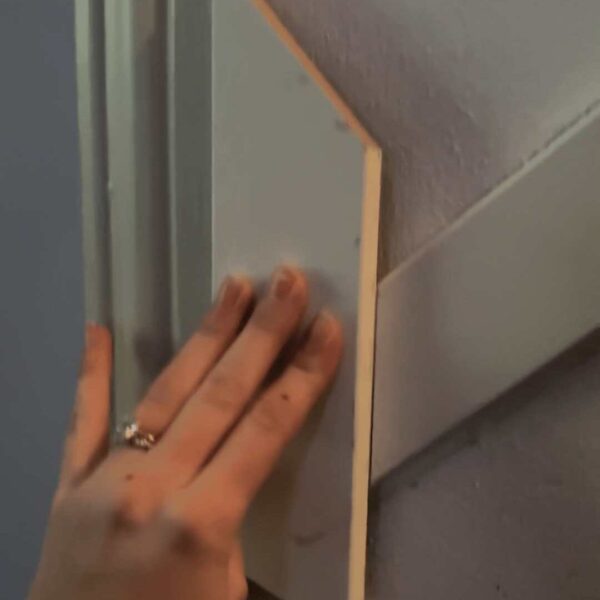
Details: When I was planning cuts for my chair rail, I didn’t level it off at the bottom since I have a doorway right there, so it didn’t make sense for my space. To find the angle for the chair rail against the door frame, I did a trick with two pieces of wood (see images below). I did this with scrap wood first to ensure the angle turned out perfect, which it did – and then I applied it to my chair rail.
Step 4: Measuring & cutting wainscoting frames
I went with 4 inches of space around and between each frame.
- I made a 4×4 inch square from scrap plywood to use as a spacer.
- Starting at the bottom, I marked 4 inches from the door trim and baseboard.
- I repeated the process for the top of each frame (4 inches below the chair rail).
- Then I used a protractor (more accurate than digital, IMO, but digital would work just fine) to measure my corner angles.
The best part about wainscoting is the top and bottom piece are the exact same cuts, just as the left and right side are – so there’s no worrying about cutting four completely different pieces 😄
How to calculate miter angles:
- Acute angle: Mine was 49°.
- 180 – 49 = 131, then divided by 2 = 65.5°
- Since miter saws don’t cut past 50°, I created a simple jig (explained HERE).
- To set my saw, I needed to find my cutting angle: 65.5 – 45 = 20.5°
- Obtuse angle: Mine was 129.5°
- 180 – 129.5 = 50.5°, then divide by 2 = 25.25° for my cutting angle
My cut setup for each frame looked like this:
- Long sides (x2): one side at -25.25°, the other at 20.5° (with jig)
- Short sides (x2): one side at 25.5°, the other at -20.5° (with jig)
Once I cut my first frame, I taped it up to test the fit and used the spacer square to line up the next. I’m SO glad I did, because I ended up needing to shave an extra inch off each one so the top frame fit correctly!
Top corner tip: At the top where the staircase levels off, I kept the top half of the frame consistent and just leveled off the bottom half—still maintaining that clean 4″ spacing on all sides.


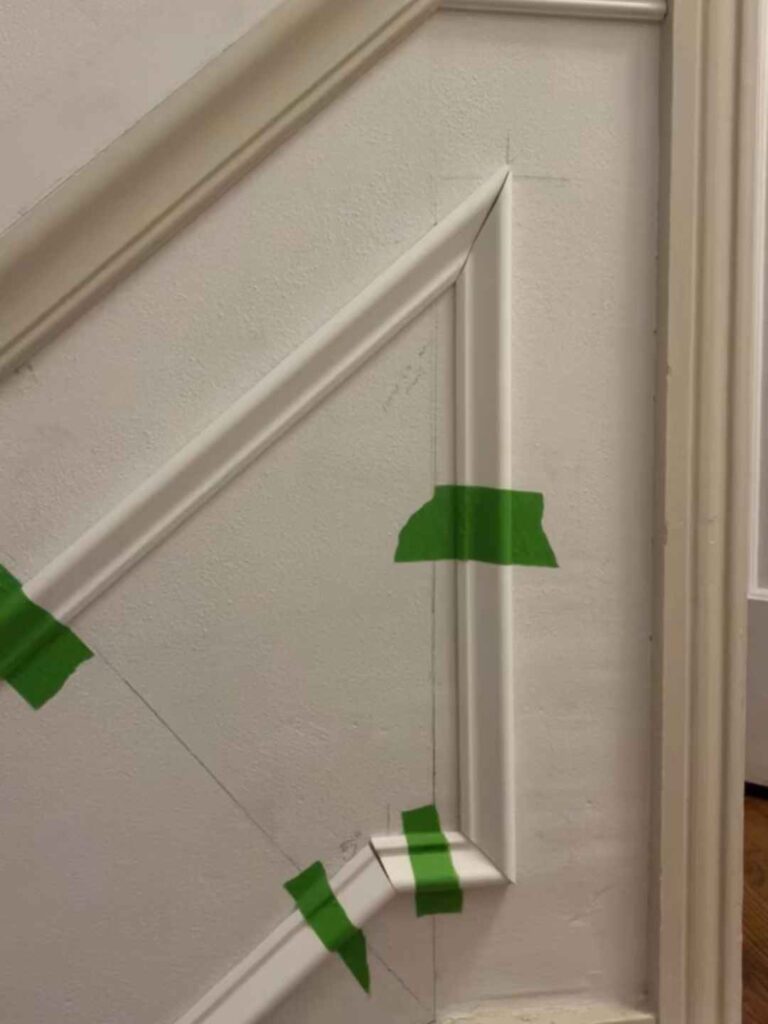
Step 5: securing, caulking, and painting
Once all the frames were taped up and confirmed to fit:
- I nailed them in place.
- Filled nail holes and corners with wood filler.
- Sanded everything smooth and vacuumed the dust.
- Then… PAINT TIME 🎉 My favorite part—everything comes together so beautifully after painting!
BONUS: I was originally done after painting, but I ended up adding a gallery wall above the wainscoting (which I’m sharing in another blog post soon!). It’s the perfect finishing touch 🥰


