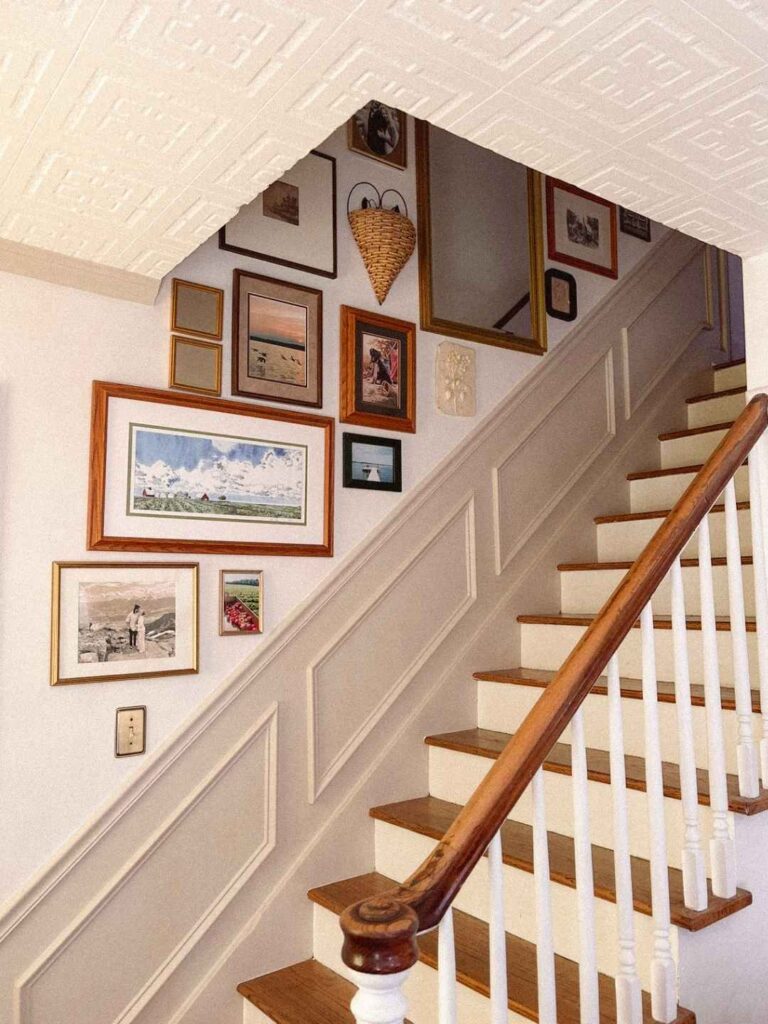
If you’ve taken on a project where you need to make cuts greater than 50 degrees, this post may be helpful for you! Personally, I was working on wainscoting my staircase and this contraption came in great use!
If you’re working on a project that requires cutting angles greater than 50°, this simple jig might just save the day! I recently used it while installing wainscoting along my staircase (you can view that post HERE), and it made those tricky cuts a breeze.
This little contraption is easy to build, inexpensive, and incredibly handy—especially for crown moulding, trim work, or custom carpentry where standard miter saw angles fall short.
Materials you’ll need:
How to Build the Jig:
- Cut the 1×8:
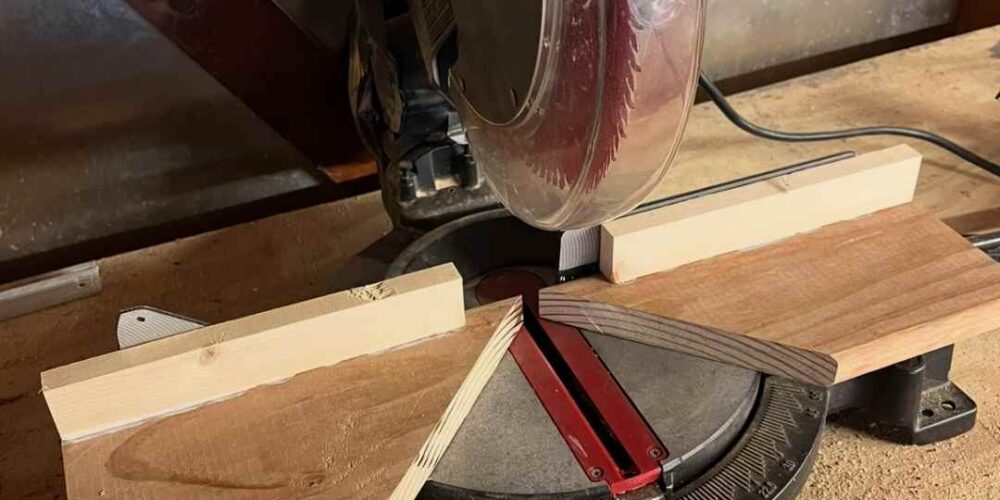
Cut two pieces from your 1×10, each about 12 inches long (you can adjust the length, but make sure they’re at least 10 inches in length ). Then, cut a 45° angle on one end of each piece so that when placed together, they form a peak like this: ^ - Cut the 1×2:
Cut your 1×2 to be slightly shorter than the long side of your 2×10 pieces. This will serve as the guide to hold everything in place against your miter saw’s fence. - Assemble the Jig:
Attach the 1×2 along the back edge of one 2×10 piece using wood glue. Let it fully dry before using.
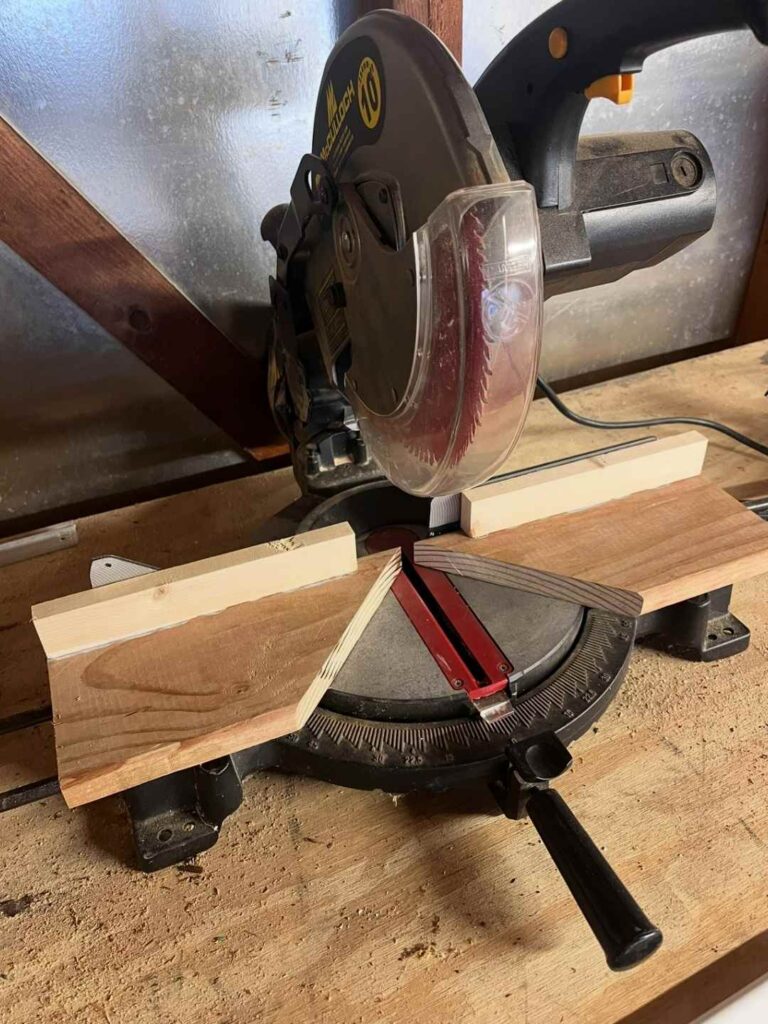
How to Use It:
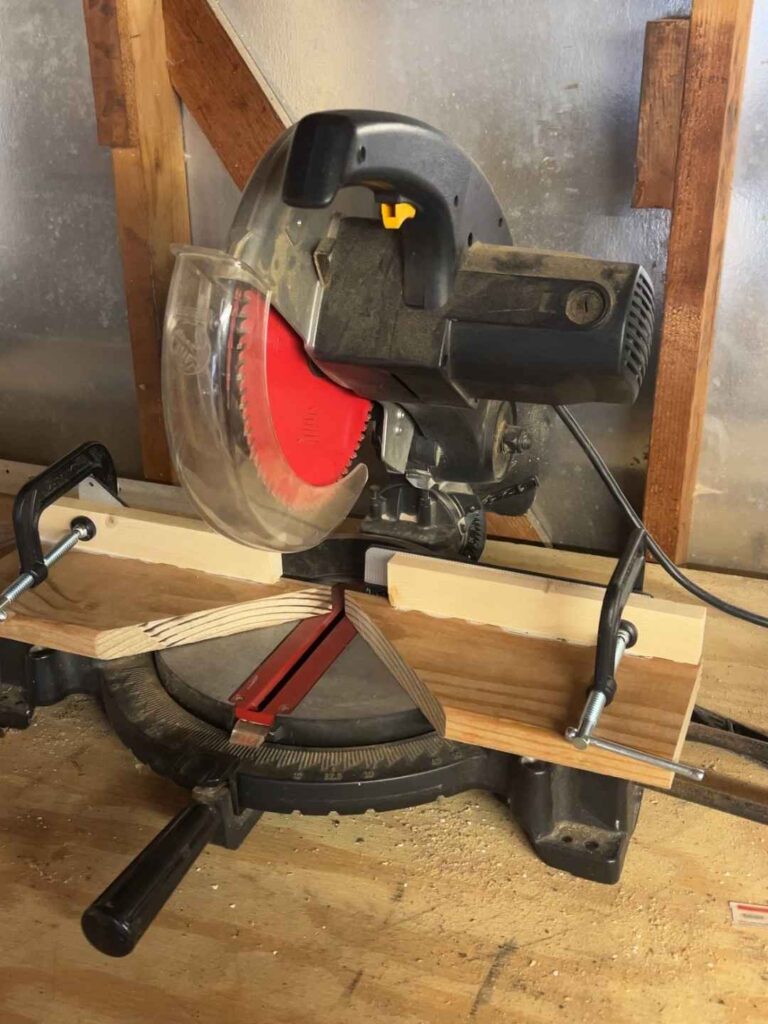
Once the glue is dry, clamp the 1×2 guide piece securely to the fence of your miter saw. Position the two angled 1×8 pieces so their tips almost touch in the center (but leave a small gap to avoid hitting them with the blade).
To use the jig for your cuts:
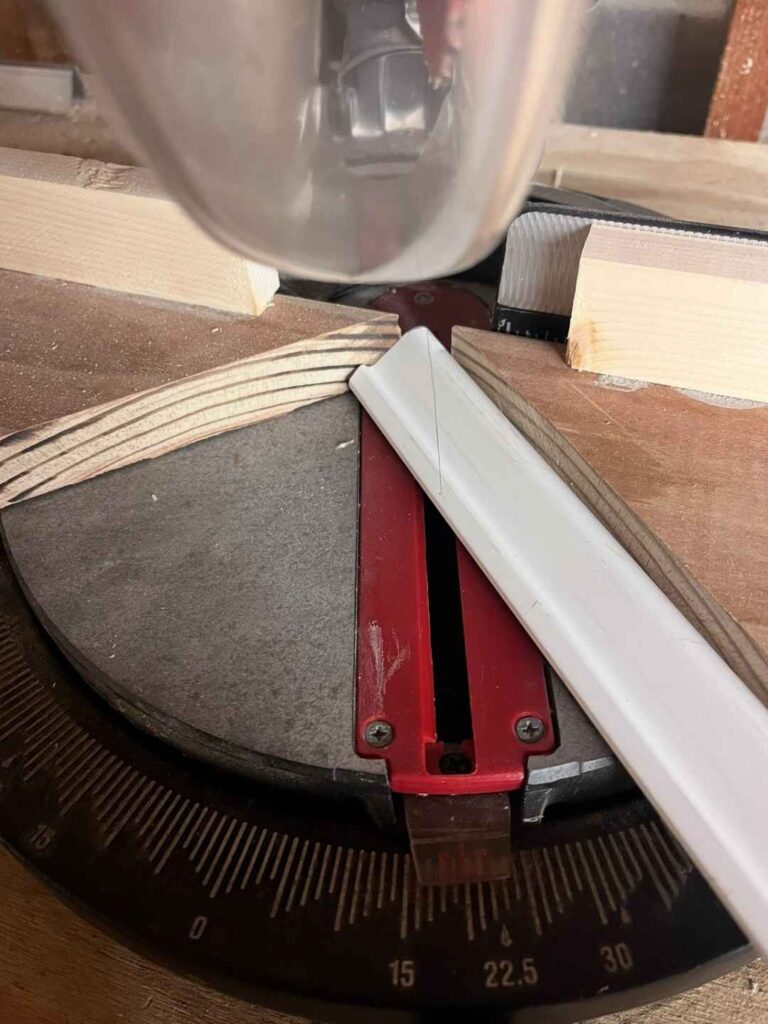
- Lay your moulding or trim piece flat along one angled face of the jig.
- Push the end that’s being cut flush against the opposite angled face.
- Make your cut, and enjoy your perfect extreme angle!
Why It Works:
This jig effectively “tilts” the moulding into a new cutting orientation, allowing your saw to make cuts steeper than its factory limit. It’s a game-changer for complex trim work!




Leave a Reply